
In emergencies, every second counts, and knowing how to perform CPR (Cardiopulmonary Resuscitation) can mean the difference between life and death. This comprehensive guide is designed to equip you with the necessary skills and knowledge to act confidently in a crisis, following the latest guidelines from reputable organisations such as the NHS, St John Ambulance, and the British Heart Foundation.
Disclaimer: The information provided in this guide is for educational purposes only and should not be considered a substitute for professional training. We are not held responsible for any consequences resulting from the use of this information. It is highly recommended to get trained by a reputable provider.
What is CPR?
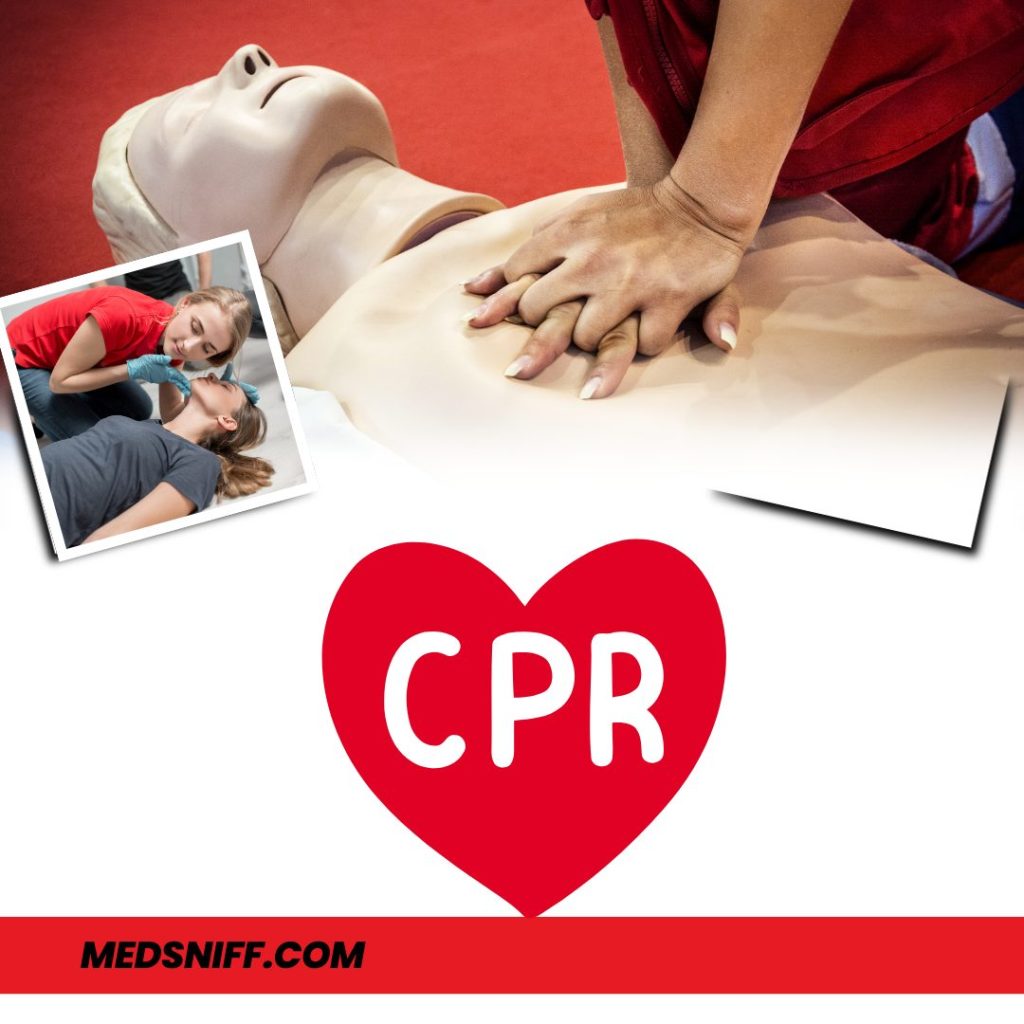
CPR (Cardiopulmonary Resuscitation) is a life-saving technique used when someone’s heart stops beating or they are not breathing. This condition is known as cardiac arrest. CPR is essential for maintaining blood flow to the brain and other vital organs until emergency medical services (EMS) arrive. According to the British Heart Foundation, starting CPR within minutes can double or even triple a person’s chances of survival.
Importance of Immediate Action
In the UK, over 30,000 people experience an out-of-hospital cardiac arrest each year, yet less than 1 in 10 survive. This stark statistic highlights the critical importance of being prepared to act swiftly in emergencies. The faster CPR is initiated, the better the chances of survival, making CPR training and knowledge vital for anyone.
Recognising Cardiac Arrest
Signs of Cardiac Arrest
Recognising cardiac arrest is the first step in triggering the emergency response. Key indicators include:
- Unresponsiveness: The person does not respond when you speak to them or shake them.
- Abnormal or absent breathing: Look for signs such as slow, laboured, or gasping breaths, known as agonal breathing.
If you suspect a cardiac arrest, it’s crucial to act immediately. The sooner you recognise these signs, the quicker you can initiate lifesaving measures.
How to Alert Emergency Services
If you confirm that a person is unconscious and not breathing normally, call 999 immediately. Here’s how to proceed:
- Dial 999: Use your mobile phone to call emergency services.
- Activate Hands-Free: If you are alone, activate the speakerphone function to keep your hands free for CPR.
- Start CPR: Begin CPR immediately, following the dispatcher’s instructions.
Questions Emergency Services May Ask
Initially, you may be asked four questions:
- Is the patient is breathing?
- What address are you calling from?
- What number are you calling from? (so we can call you back if you get cut off)
- What is the reason for your call?
How Emergency Services Will Support You
Emergency dispatchers are trained to provide immediate support and guidance. They may:
- Provide Instructions: The dispatcher can guide you through CPR steps or other first aid techniques while you wait for help to arrive.
- Stay on the Line: They will keep you on the line to monitor the situation and provide ongoing support.
- Coordinate with Responders: Dispatchers communicate with emergency responders to provide them with real-time information about the situation.
Bystander Intervention
Encouraging bystanders to assist can be critical in emergencies. Have someone call for help and fetch the AED while you perform CPR. Clear instructions can help others assist effectively and minimize confusion.
CPR for Adults: A Detailed Approach
If you are trained in CPR and feel confident, provide chest compressions along with rescue breaths.
If you’re not fully confident or untrained, perform hands-only CPR (chest compressions only).
How to Perform CPR on Adults
- Assess the Situation: Ensure the scene is safe before approaching the person. Check for responsiveness by gently shaking their shoulder and asking if they are okay.
- Call for Help: If the person is unresponsive and not breathing, call 999 for emergency services.
How to Perform Chest Compressions for CPR
Position Yourself Correctly
Kneel beside the person. Place the heel of one hand on the centre of their chest (on the breastbone), and position your other hand on top, interlocking your fingers.
Get Into the Right Stance
Ensure your shoulders are directly over your hands to allow effective compressions.
Start Chest Compressions
Using your upper body weight (not just your arms), press down firmly and smoothly on the chest by approximately 5–6 cm (2 to 2.5 inches).
Let the Chest Recoil
After each compression, allow the chest to fully return to its normal position without lifting your hands.
Maintain the Right Rhythm
Continue chest compressions at a consistent rate of 100 to 120 per minute. Keep going until professional medical help arrives or you are too exhausted to continue.
How to Perform Full CPR with Rescue Breaths
If you’re trained and confident, combine chest compressions with rescue breaths:
Start with 30 Chest Compressions
Place your hands in the centre of the chest as described above and deliver 30 compressions at a rate of 100 to 120 per minute.
Give 2 Rescue Breaths
Gently tilt the person’s head back and lift their chin using two fingers.
Pinch their nose shut.
Take a deep breath, seal your mouth over theirs, and blow steadily for about 1 second.
Watch for their chest to rise.
Repeat once to deliver a total of 2 breaths.
Continue the Cycle
Alternate 30 chest compressions with 2 rescue breaths. Continue these cycles until the person shows signs of life or emergency responders take over.
Important Note:
If you’re not trained or feel unsure about giving rescue breaths, perform hands-only CPR—just chest compressions—until help arrives.
CPR for Children
Recognising Cardiac Arrest in Children
Children can experience cardiac arrest due to various causes, including respiratory issues or trauma. The signs may be similar to adults, but it’s essential to recognise the nuances involved:
- Unresponsiveness: The child does not respond when called or shaken.
- Abnormal Breathing: Look for slow, irregular, or absent breathing.
Performing CPR on Children (Over 1 Year)
- Open the Airway: Gently tilt the child’s head back and lift the chin.
- Check for Breathing: Look, listen, and feel for breathing for about 10 seconds. If the child is unresponsive and not breathing, initiate CPR.
- Start CPR:
- Carefully remove any obvious obstruction in the mouth.
- Give 5 initial rescue breaths
- Gently tilt the child’s head back and lift their chin to open the airway.
- Using the hand on their forehead, pinch the soft part of their nose closed with your thumb and index finger.
- Slightly open their mouth, keeping the chin tilted upward.
- Take a deep breath, then place your lips securely around their mouth to form a tight seal.
- Breathe steadily into their mouth for about 1 second, watching for the chest to rise.
- Maintain the head tilt and chin lift. Remove your mouth and check for the chest to fall as air exits.
- Take another breath and repeat the cycle four more times, delivering a total of five rescue breaths.
- Ensure the child’s chest rises and falls with each breath, as it would during normal breathing.
- While doing this, note any gag or cough response – this is a sign of life.
- Use one hand in the centre of the chest for compressions.
- Compress the chest to a depth of about 5 cm (2 inches).
- After every 30 compressions, give 2 rescue breaths.
CPR for Infants (Under 1 Year)
- Open the Airway: Tilt the infant’s head back slightly and lift the chin.
- Check for Breathing: Look for chest movement and listen for breaths.
- Start CPR: If unresponsive and not breathing, initiate CPR.
- Carefully remove any obvious obstruction in the mouth.
- Give 5 initial rescue breaths
- Make sure the baby’s head is in a neutral position and gently lift the chin to open the airway.
- Take a breath, then cover both the baby’s mouth and nose with your mouth, ensuring a complete seal. If you’re unable to cover both, seal either the mouth or the nose—if sealing the nose, gently close the lips to prevent air from escaping.
- Breathe steadily into the baby over 1 second—just enough to make the chest visibly rise.
- Keep the head tilted and chin lifted. Remove your mouth and watch for the chest to fall as the air leaves the lungs.
- Take another breath and repeat the process four more times, giving a total of five rescue breaths.
- While doing this, note any gag or cough response, this is a sign of life.
- Use 2 fingers in the centre of the infant’s chest. Compress at a depth of about 4 cm (1.5 inches).
- After every 30 compressions, give 2 rescue breaths by sealing your mouth over the infant’s mouth and nose.
Signs of life present (child any age)
If there are definite signs of life:
- Continue rescue breathing until your child begins to breathe normally for themselves.
- Turn the child on their side into the recovery position and send for help.
- Continue to check for normal breathing and provide further rescue breaths if necessary.
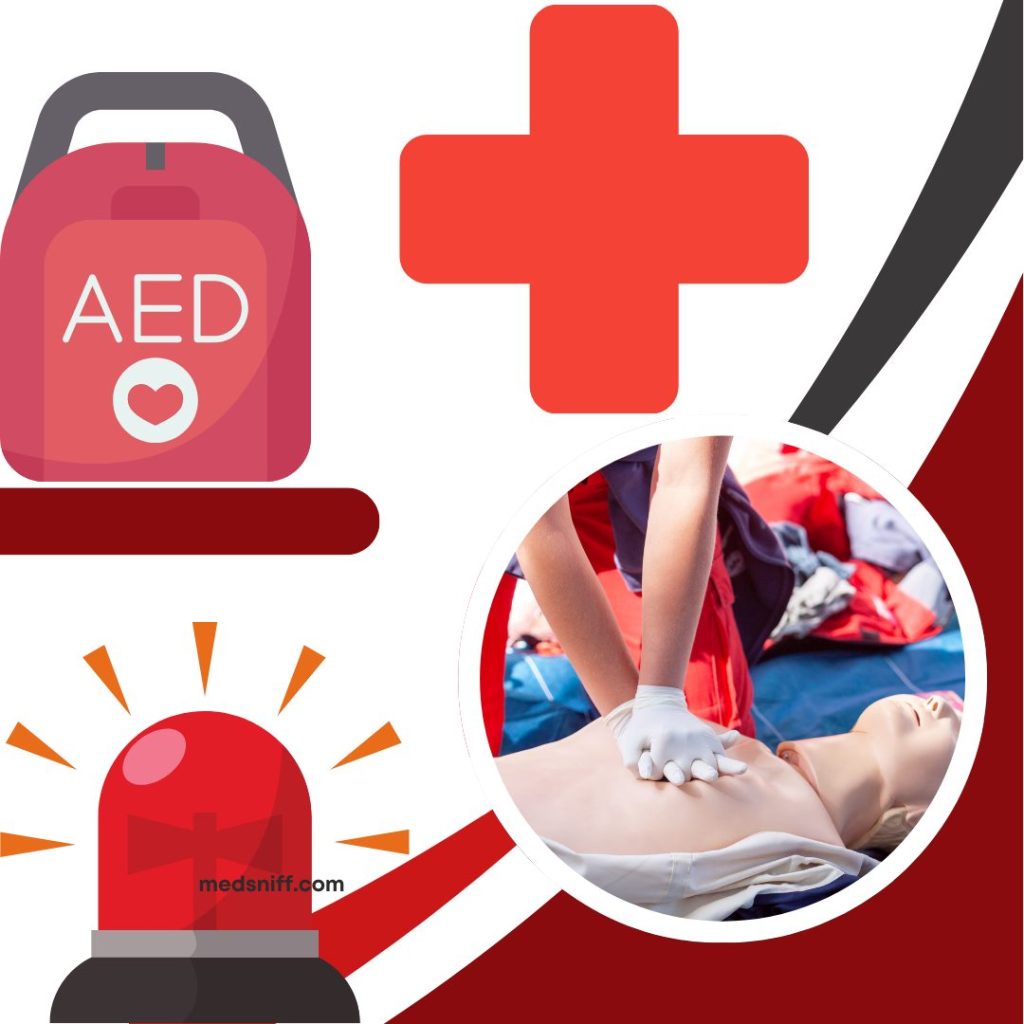
Importance of AEDs (Automated External Defibrillators)
An Automated External Defibrillator (AED) is a portable, life-saving device designed to treat people experiencing sudden cardiac arrest (SCA). Cardiac arrest causes the heart to stop beating effectively, and without immediate intervention, it can be fatal within minutes. When used quickly alongside CPR (Cardiopulmonary Resuscitation), an AED can significantly increase the chance of survival.
Why AEDs Are Crucial in Emergencies
- Immediate response saves lives: For every minute that passes without defibrillation, the chance of survival decreases by about 10%.
- User-friendly design: AEDs are built for public use and provide clear visual and audio instructions, allowing even untrained bystanders to assist during an emergency.
- Restores normal heart rhythm: The AED analyzes the heart’s rhythm and delivers an electric shock (if needed) to help the heart re-establish an effective beat.
- Vital link in the Chain of Survival: AEDs are a key component in emergency response, supporting early defibrillation—one of the critical steps recommended by leading health organizations like the British Heart Foundation and American Heart Association.
How to Use an AED: Step-by-Step Guide
Knowing how to use an AED can make a life-saving difference. Here’s a simple guide anyone can follow:
Step 1: Turn on the AED
- Open the lid or press the power button.
- The device will start giving verbal and visual prompts.
Step 2: Expose the Chest and Attach the Pads
- Remove clothing from the chest.
- Peel off the AED electrode pads and place them on the person’s bare chest as shown in the diagrams.
Step 3: Let the AED Analyse the Heart Rhythm
- Make sure no one is touching the person.
- The AED will automatically check the heart rhythm.
Step 4: Deliver the Shock (If Advised)
- If a shock is needed, the AED will instruct you to press the shock button.
- Ensure everyone is clear before administering the shock.
Step 5: Resume CPR
- Immediately begin CPR (30 compressions and 2 rescue breaths) after the shock.
- Continue to follow the AED prompts until emergency services arrive or the person shows signs of recovery.
Key Takeaway
AEDs save lives—but only if they are used quickly and correctly. The combination of early defibrillation with an AED and effective CPR offers the best chance of survival from sudden cardiac arrest. Make sure you know where your nearest AED is located and how to use it in case of an emergency.
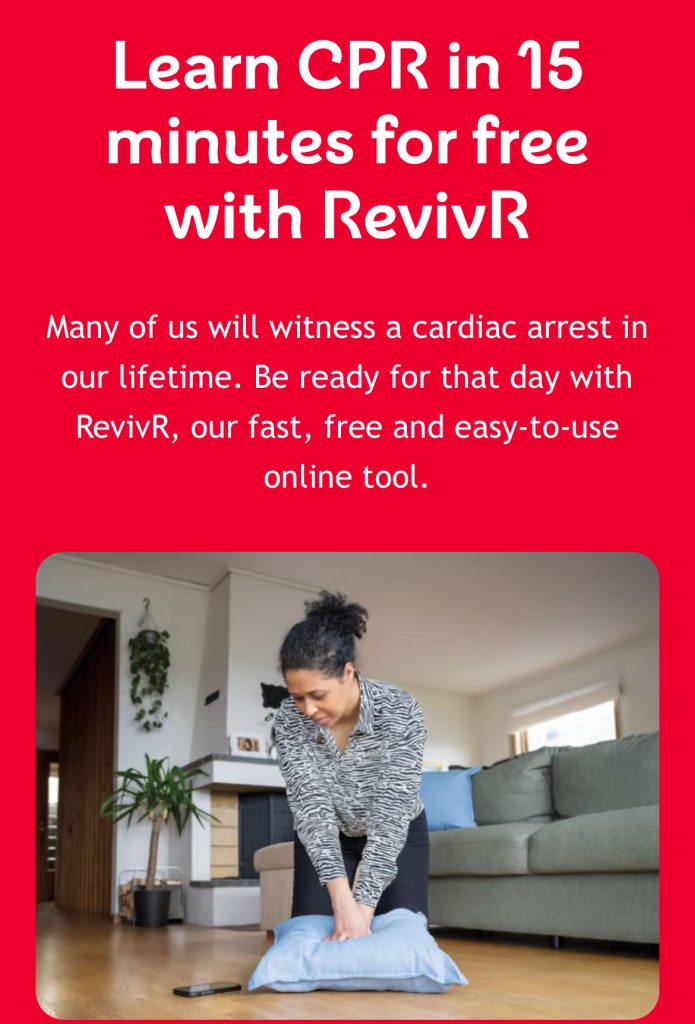
RevivR: Your Path to CPR Training
RevivR is a free, interactive, online CPR training course that offers a quick and effective way to learn life-saving skills. Designed for individuals of all skill levels, RevivR guides users through the essential techniques of CPR in just 15 minutes. Here’s what you can expect:
Key Features of RevivR
- User-Friendly Interface: The course is accessible on mobile phones and tablets, allowing you to learn at your own pace and convenience.
- Hands-On Practice: All you need is a cushion to practice on, making it easy to simulate CPR techniques in a safe environment.
- Certification: Upon completion of the course, you receive a CPR certificate, which can be beneficial for personal knowledge or professional requirements.
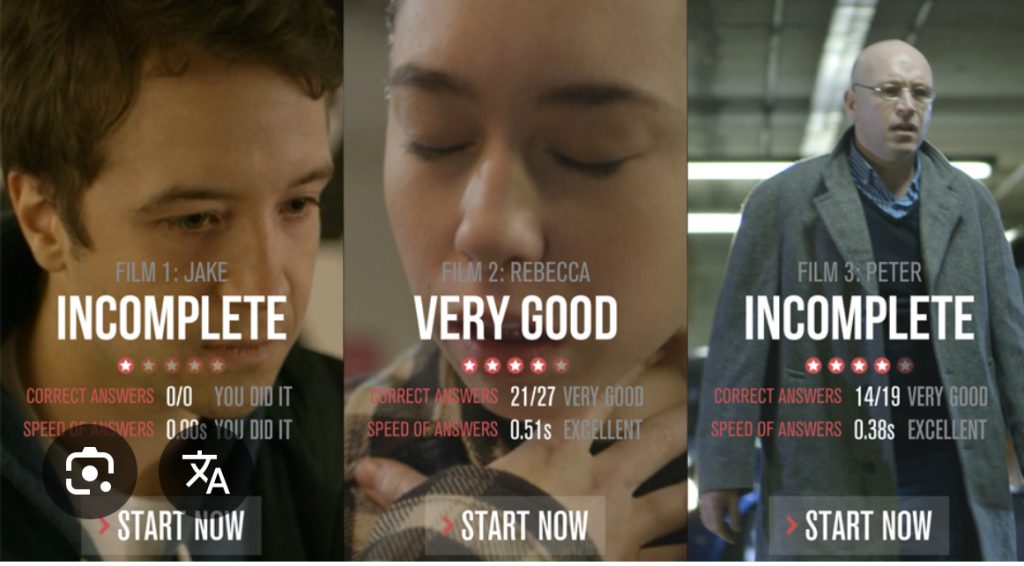
- Realistic Scenarios: The training includes simulations that mimic real-life situations, helping you to be better prepared for emergencies.
Benefits of Using RevivR
- Convenience: Learn CPR anytime and anywhere, fitting it into your schedule without the need for in-person classes.
- Confidence Building: The interactive nature of the training boosts your confidence in performing CPR and using an AED if the need arises.
- Community Impact: By learning CPR, you contribute to a community of prepared individuals ready to respond to emergencies, potentially saving lives.
How to Get Started
To begin your CPR training with RevivR, simply visit their website, sign up for free, and start your training. Within minutes, you’ll gain the knowledge and skills to respond effectively during a cardiac emergency.
The Lifesaver App: Enhancing Emergency Response
The Lifesaver App is another valuable resource designed to empower individuals in emergency situations. This app not only aids in finding nearby AEDs but also offers a comprehensive overview of CPR techniques and protocols. Here’s how it integrates into real-life scenarios:
Real-Life Scenario with the Lifesaver App
Imagine you are in a public park when you notice a person collapse. You quickly assess the situation and realize they are unresponsive and not breathing. Panic sets in, but you remember your training and reach for your phone to access the Lifesaver App.
- app has easy-to-follow instructions on how to attach the pads and use the device. It prompts you to ensure no one is touching the person while it analyses the heart rhythm.
- Continue CPR: After the AED delivers a shock, the app reminds you to resume CPR immediately, ensuring that you are following the best practices and maximising the chances of survival.
Benefits of the Lifesaver App
- Accessibility: The Lifesaver App is available on both iOS and Android devices, making it easy for anyone to download and use.
- Comprehensive Resource: It not only helps locate AEDs but also educates users on CPR techniques, ensuring they feel prepared to act in emergencies.
- Community Engagement: The app encourages users to register AEDs they encounter, contributing to a growing database that can save lives.
Additional AED Mapping Apps
In addition to the Lifesaver App, there are other helpful apps available:
- AED Map: This app provides a comprehensive map of AED locations, allowing users to find the nearest defibrillator quickly. It is particularly useful in emergencies when every second counts.
- GoodSAM App: This app connects trained volunteers with nearby emergencies, allowing them to respond quickly and assist those in need. It notifies users if someone nearby is in need of CPR, increasing the chances of timely intervention.
Conclusion
Being equipped with CPR knowledge and skills can empower you to act decisively in emergencies. With the potential to save lives, understanding the steps for recognising cardiac arrest, performing CPR, and using an AED is crucial.
By familiarising yourself with these techniques and practicing through training resources like RevivR and utilising apps like Lifesaver, AED Map, and GoodSAM, you can enhance your confidence and readiness to respond effectively when every second counts. Remember, your actions can make a significant difference in someone’s life during a critical moment.
Additional Resources
- RevivR: A free online CPR training course that takes just 15 minutes to complete and provides a certificate.
- British Heart Foundation: Offers resources and information about cardiac arrest and CPR.
- St John Ambulance: Provides training and resources for first aid and emergency response.
- AED Map: An app that shows the locations of nearby AEDs.
- Lifesaver Defibrillator App: An app that assists in locating AEDs and provides CPR instructions.
- GoodSAM App: Connects trained volunteers to emergencies, enhancing community response efforts.
By staying informed and prepared, you can be a vital link in the chain of survival during a cardiac emergency. Your knowledge can save lives, making it essential for everyone to learn and understand CPR and emergency response techniques.
Reference List
- NHS (National Health Service). (2021). Cardiopulmonary resuscitation (CPR). Retrieved from NHS CPR Information
- British Heart Foundation. (2022). CPR and defibrillation. Retrieved from British Heart Foundation CPR
- British Resuscitation Council. (2021). Guidelines for Cardiopulmonary Resuscitation. Retrieved from British Resuscitation Council Guidelines
- RevivR. (2023). Free Online CPR Training. Retrieved from RevivR
- AED Map. (2023). Locate an AED. Retrieved from AED Map
- Lifesaver App. (2023). The Lifesaver App – CPR and AED Training. Retrieved from Lifesaver App
- GoodSAM App. (2023). Connecting volunteers and emergency services. Retrieved from GoodSAM
- St John Ambulance. (2022). First aid and CPR training. Retrieved from St John Ambulance